- Home
- >
- Software Development
- >
- Scripts to Drive Wearable Computing – InApps 2022
Scripts to Drive Wearable Computing – InApps is an article under the topic Software Development Many of you are most interested in today !! Today, let’s InApps.net learn Scripts to Drive Wearable Computing – InApps in today’s post !
Read more about Scripts to Drive Wearable Computing – InApps at Wikipedia
You can find content about Scripts to Drive Wearable Computing – InApps from the Wikipedia website
Do you use scripts with your Raspberry Pi?
I don’t see very much attention paid to using scripts, with the various nano-Linux devices like the Raspberry Pi, CHIP or BeagleBone. Scripts are a tremendous automation tool and let you execute a string of commands or programs, in sequence.
Although Linux scripts can get complicated — with logic, input and other regular programming features — most are just small, simple, “time or keystroke savers” usually containing only a handful of lines.
Today’s discussion covers a few scripts that I use on my own creation, the Steampunk Conference Badge (the “Gen-5” edition).
Big Data from Small Devices
A very practical example of using the power of Linux scripts in a physical computing situation is when combining a microcontroller with the Raspberry Pi. An external Arduino Pro Mini, gives you the ability to read analog and digital data in real-time do a few calculations, then send a data stream out the serial line. The Raspberry Pi can then suck in the data and display it on a gauge, control an output pin or ship the data up to the Cloud.
Why not just connect, the Pro-Mini’s serial line to the Raspberry Pi 3 and read the data with a quick “cat /dev/ttyS0“? Not so fast. Likely you’ll need to set the serial port configuration, on the Raspberry Pi, before data starts flowing. Combining the two, gets the job done.
#!/bin/bash # capture-tty.sh # script sets the serial port configuration, then # uses cat command to show data flowing into the # serial port # sudo stty –icrnl –F /dev/ttyS0 115200 sudo cat /dev/ttyS0 |
The first line just sets the path to the Bash shell interpreter. Then there are a couple of comments, including the file name and script functions. Next, is the “stty” command to properly set the serial port (/dev/ttyS0) parameters. Lastly, execute the “cat” command to print the values on the console screen.
Before being able to run the script, the permissions need to be changed so it’s executable.
pi% chmod 744 capture–tty.sh |
Then, run the script with the following line.
I also built a similar script to read the USB port, by simply copying the file, renaming it (to capture-usb.sh) and changing the port to /dev/ttyUSB0.
How about changing a Raspberry Pi’s behavior after a reboot?
Bounce between the TFT LCD and HDMI Monitor
My Gen-5 conference badge has a 3.5″ TFT color touchscreen. It works great for promo videos, displaying gauges and other normal wearable tasks.
I always thought it would be cool to show up for one of my tech talks, remove my badge from around my neck, hook it up to the projector, plug in the keyboard/mousepad and run my slides using LibreOffice. The badge has a Raspberry Pi 3 and is a full-blown Linux machine, after all.
Making my dream come true of a wearable notebook turned out to be pretty straightforward, using a pair of scripts.
I originally set up the micro-machine for the 3.5″ TFT color LCD touchscreen using the custom Adafruit image. There’s a file called 99-fbdev.conf, that’s used to configure the X server for the LCD framebuffer. When that file is present in the /etc/X11/xorg.conf.d directory, you’ll get a little desktop on the LCD.
Without the file in /etc/X11/xorg.conf.d, it’ll default to the desktop appearing on a connected HDMI monitor. The scripts shuffle the file around and do a reboot to put the desktop on the appropriate screen.
Here’s a script to switch to the HDMI monitor, from the LCD screen.
#!/bin/bash # use-hdmi.sh # script used to switch the display from the 3.5″ TFT display # to the HDMI monitor. The connected HDMI display will become # active after rebooting the Raspberry Pi 3. # sudo mv /etc/X11/xorg.conf.d/99–fbdev.conf /home/pi sudo shutdown –r now |
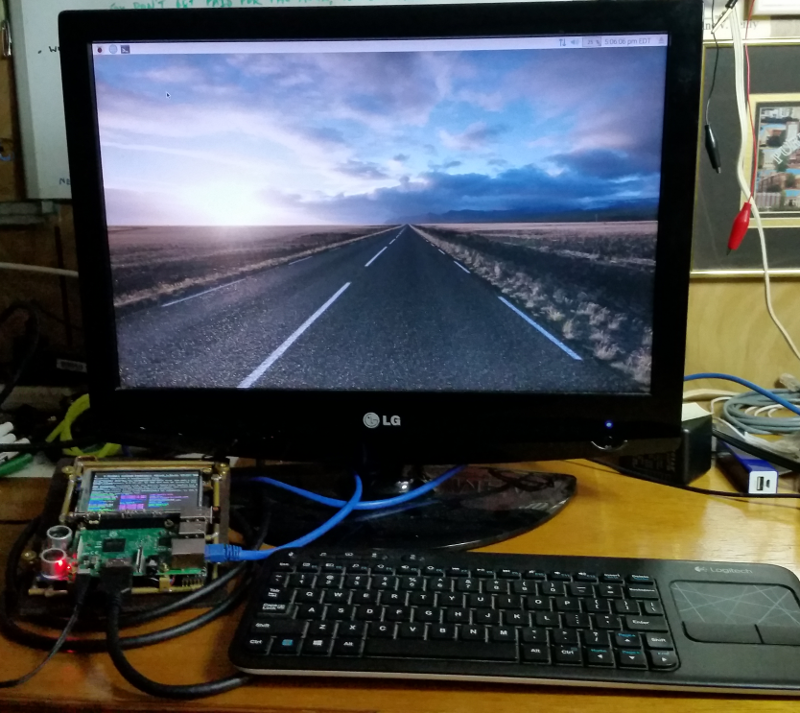
The Desktop Appearing on the HDMI Monitor
And, here’s the one to switch back to the 3.5″ TFT display.
#!/bin/bash # use-lcd.sh # script used to switch the display from the HDMI monitor to # the 3.5″ TFT display. The TFT display # will become active after rebooting the Raspberry Pi 3. # sudo cp /home/pi/99–fbdev.conf /etc/X11/xorg.conf.d/ sudo shutdown –r now |

The Desktop Appearing on the 3.5″ TFT LCD Display
Also, you can use both displays at once. Say you have the desktop on the TFT display with the HDMI monitor connected.
Type a <ctrl> <alt> F2 to bring up a console on the HDMI monitor. Type an <alt> F7 to make the TFT active again.
Likewise, if you have the desktop on the HDMI monitor, you can type a <ctrl> <alt> F1 to bring up a console on the TFT display. Type an <alt> F7 to get back to the HDMI desktop.
Recycle to Make a Processing Sketch Work
Remember, when we built an analog gauge using data from the Arduino Pro Mini and a sketch from the Processing language? You might also recall that we had to use the stty command to configure the serial port.
I also found out that you can run a Processing sketch without going into the Processing IDE. Why not put the two together and run a cool, graphical Processing sketch from the command line, using a script. In this example, the sketch is in the standard Processing sketchbook directory. You can add in the #!/bin/bash and comments if you’d like.
cd processing* sudo stty –icrnl –F /dev/ttyS0 115200 DISPLAY=:0 ./processing–java —sketch=/home/pi/sketchbook/gauge3 —present |
It’s necessary to run Java from the processing directory, so the first line moves you there. Next, we configure the serial port with the “stty” command. Finally, the gauge shows up on the primary display (:0) using a call to Java and the gauge3 sketch name. The “–present” option, called presentation mode, runs the script in full-screen mode. To make the gauge show up in a regular desktop window (probably on the HDMI monitor), substitute “–run” in place of “–present”.
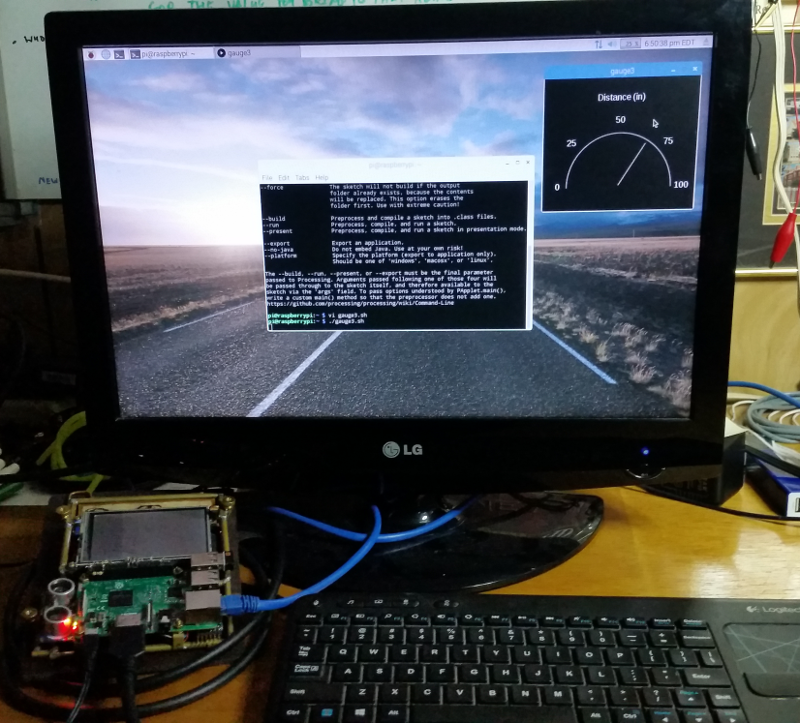
Processing Gauge in a Desktop Window on the HDMI Display
Note that we can take parts of old scripts, like the “sudo tty” line from capture-tty.sh and use them in new scripts. Be sure to reuse parts from previous efforts, whenever possible.
Wrap up
These are just a few of the wondrous things you can do with scripts. The Pi is an extremely capable Linux machine. It’s made for automation and can do many jobs at once.
String together existing commands or programs in a script and keep it simple: It’s a lot easier than writing a huge, whiz-bang program that does everything, from scratch. Take advantage of this fundamental principle of the *nix way of doing things.
Source: InApps.net

Let’s create the next big thing together!
Coming together is a beginning. Keeping together is progress. Working together is success.