- Home
- >
- Web Design & Development
- >
- Running react-native-web using expo
Since expo SDK version 33, expo supports react-native-web.
In this blog, we’ll see how to set up your react-native-web project using expo.
Key Summary
This article from InApps Technology, authored by Phu Nguyen, provides a step-by-step guide on setting up a React Native Web project using Expo (supported since SDK version 33). It demonstrates how to create a cross-platform app that runs on web, iOS, and Android with a single codebase. Key points include:
- Expo Installation:
- Install Expo CLI globally: npm i -g expo-cli (alternatively, use nvm or yarn).
- Create a new project: expo init, selecting the blank JavaScript template.
- Specify project name and slug (used for publishing on Expo’s server).
- Navigate to the project directory (cd rn-web) and run expo start –web to launch the web app in a browser.
- Code Setup:
- App.js: Modified to include a <Header> component and a styled container with text, demonstrating hot reloading (changes reflect instantly in the browser).
- Header.js: Created in a components folder, defining a header with a red background, centered text, and responsive dimensions using Dimensions.get(‘window’).
- Example code snippets:
- App.js: Imports Header, uses flexbox and dynamic dimensions for layout.
- Header.js: Defines a simple header with StyleSheet for styling.
- Cross-Platform Support:
- Run the app on iOS simulator (press i in terminal) or Android emulator (press a).
- Expo’s browser UI provides an alternative to terminal commands for launching emulators.
- Supports React Native Web for web browsers, with similar packages like react-native-windows (Windows Phone/PC) and react-native-macos (Mac OS).
- Benefits:
- Write once, run on multiple platforms (web, iOS, Android, etc.).
- Simplifies development with hot reloading and Expo’s streamlined setup.
- Future blog teased for adding navigation to enhance the app.
- Resources:
- GitHub repo (master branch) for full code.
- Video demonstrating the setup process.
- Support offered by Codersera team for setup issues.
- InApps Insight:
- InApps Technology leverages React Native and Expo for cross-platform development, integrating ReactJS, Microsoft’s Power Platform, and Azure, using Power Fx for low-code solutions and Azure Durable Functions for scalable workflows.
- Combines Node.js, Vue.js, GraphQL APIs (e.g., Apollo), and Azure to deliver versatile, multi-platform solutions, targeting startups and enterprises with Millennial-driven expectations.
Installing expo
// install expo-cli
npm i -g expo-cli

// create expo project
expo init
Install expo-cli if you don’t have it installed already, you can use nvm and yarn as well instead of npm.
After running expo init you’ll be presented with a few options to choose the starter kit from.

You can choose any one of those, but for this blog, we’ll use the first one, which is the blank project in javascript. Now, it will prompt you to enter the project name and the slug. Slug is the URL part that’s needed when you try to publish the app on the expo server.
cd into the project directory and run the expo start --web
If you want to quickly jump and see the code, check this GitHub repo [master branch]
cd rn-web
expo start --web
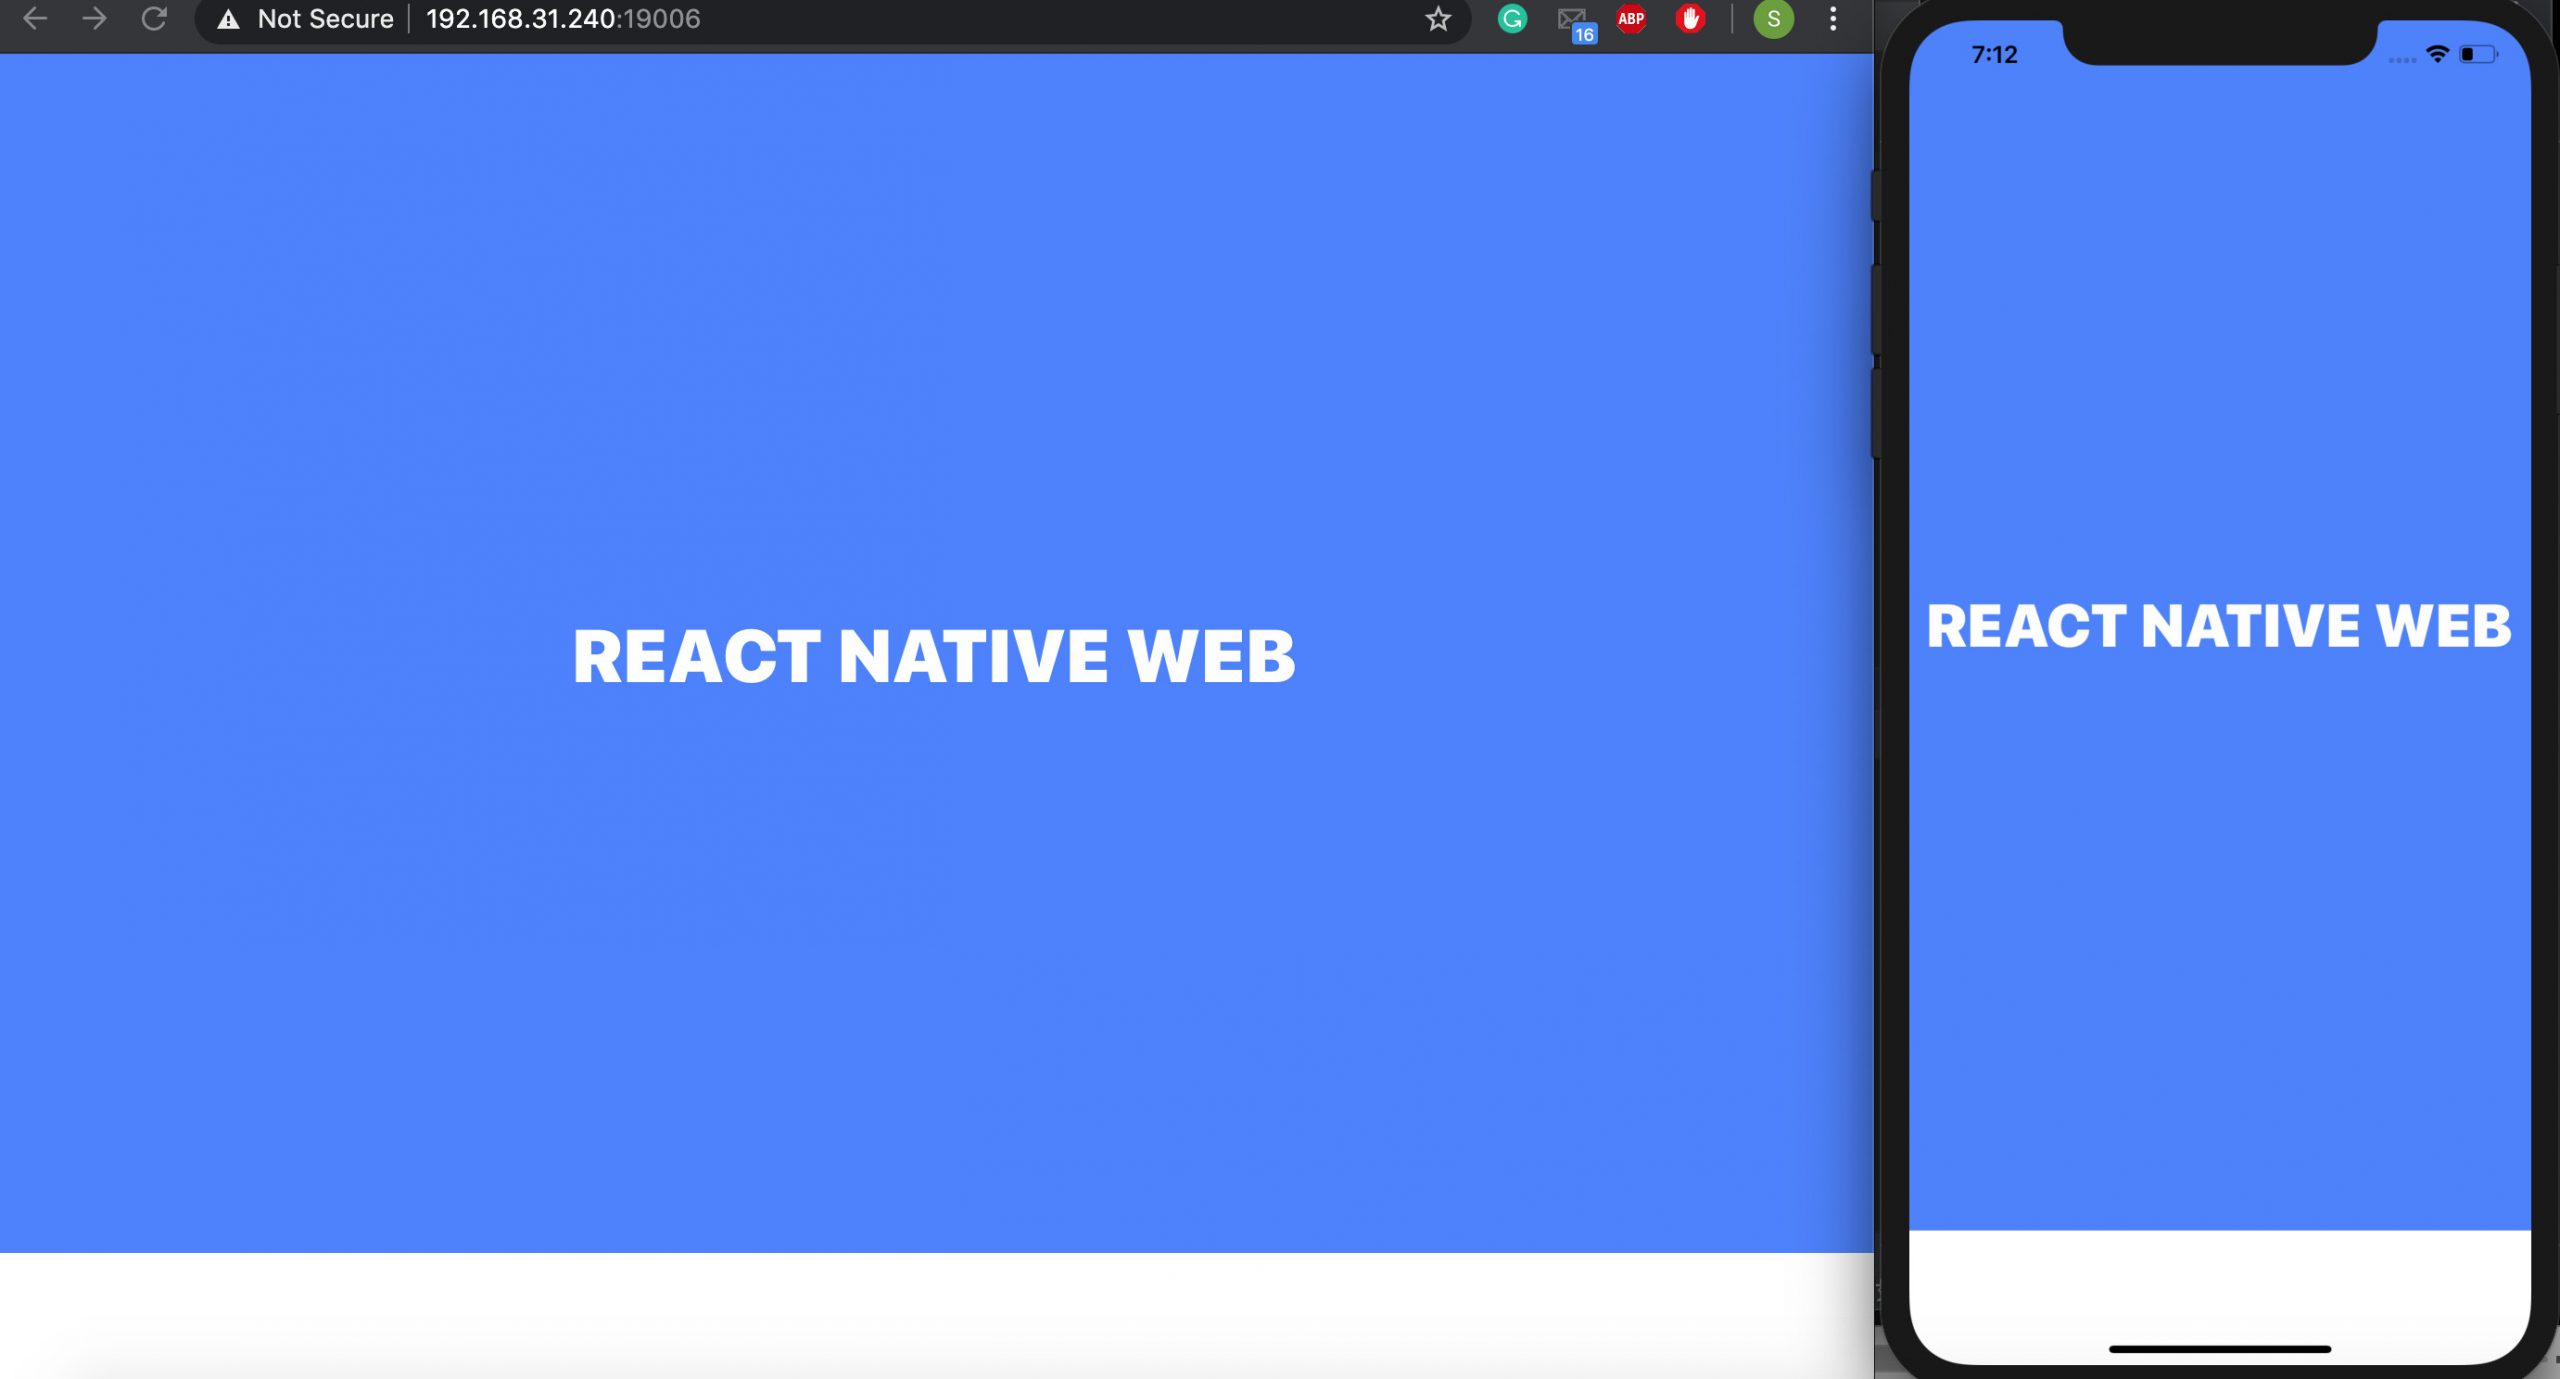
It should launch the webapp in your browser.

Let’s make some changes in the App.js file and check if hot reloading works.
// App.js
export default function App() {
  return (
    <View style={styles.outer}>
      <Header/>
      <View style={styles.container}>
        <Text>Open up App.js to start working on your app! let me do some change</Text>
      </View>
    </View>
  );
}
You should see the browser reflecting the changes automatically. If you’d like to see my hussle with react-native-web setup check this video.
Adding components to react-native-web
Let’s add a few components to our app now.
Create a Header.js file in components folder
// components/Header.js

import React from 'react';
import { StyleSheet, Text, View, Dimensions } from 'react-native';

const {width, height} = Dimensions.get('window');

function Header () {
        return (
            <View  style={styles.header}>
                <Text>I'm header</Text>
            </View>)
}
const styles = StyleSheet.create({
        header: {
               height: height/10,
            alignItems: 'center',
            justifyContent: 'center',
            backgroundColor: 'red',
        },
});
export default Header;
And include Header.js in your App.js file.
// App.js

import React from 'react';
import {Dimensions, StyleSheet, Text, View} from 'react-native';
import Header from './components/Header';
const {width, height} = Dimensions.get('window');

export default function App() {
  return (
    <View style={styles.outer}>
      <Header/>
      <View style={styles.container}>
        <Text>Open up App.js to start working on your app! let me do some change</Text>
      </View>
    </View>
  );
}

const styles = StyleSheet.create({

  outer: {
    flex: 1,

  },
  container: {
    height: height*9/10,
    backgroundColor: '#fff',
    alignItems: 'center',
    justifyContent: 'center',
  },
});

On the terminal, press i and it will launch the ios simulator or press a and it will launch android emulator, and you should see the app running in the mobile device as well.

If you want to avoid using terminals, Expo also provides you with the browser UI interface which looks like this.

This is the beauty of react-native and react-native-web, you need to write the code once and can run it on multiple platforms. Like react-native-web, there are other packages like react-native-windows which lets you run react-native apps on the windows phone and PC.
Similarly, react-native-macos lets your run the app on mac os.
In the next blog, we’ll integrate the navigation library into react-native-web as navigation is an important part of any frontend framework.
Conclusion
So, we hope you have learned how to set up react-native using expo properly. If you face any sort of doubts while setting up react-native, we the codersera team have dedicated developers who would help you in your process.
Source: InApps.net

Let’s create the next big thing together!
Coming together is a beginning. Keeping together is progress. Working together is success.