


- Home
- >
- Software Development
- >
- Hardware Hacking from Scratch – InApps Technology 2022

If you’re thinking about building robots, the Internet of Things things, or physical computing gadgets and are completely new to the field; it’s hard to know what to do and where to start if you’ve never used a microcontroller board in your project.
There are a lot to learn about the interplay of microcontrollers, sensors, actuators, firmware, software, networking, data (and databases), radios, mechanisms, electronics, and so on. We want to make our contraptions practical and easy to use so designing user interfaces, project packaging and aesthetics are important, too.
A good place to start is becoming familiar with the software tools used to program and configure physical computing projects. Obviously, you’ll need to buy an Arduino and/or a Raspberry Pi before you can program and use those devices. The software mentioned is freely available on the web. I’ll post links to the appropriate sources.

Go Mainstream — Use Linux
Without a doubt, Linux is the operating system of choice for physical computing and a great all-around platform for software development.
While you can use Windows for a lot of physical computing work, I highly recommend Linux. There are a few dozen different versions for notebooks.
Linux runs on just about any computer hardware, from high-end multi-thousand dollar desktops all the way down to that long forgotten dozen-year old notebook buried in the closet. It will even operate from a USB stick, if you don’t want to replace Windows, just yet. When finished doing physical computing work, just shut down the machine, pull the USB stick out and you’re right back to boot up with Windows. By the way, I haven’t used Windows for ten years and do all my work on a 10-year old ASUS duo-core Intel notebook.
Microcontrollers boards that have an operating system, like the Raspberry Pi, BeagleBone and CHIP computers almost exclusively use some version of Linux, as well. Since it is a multi-user, multitasking operating system, you can run a bunch of programs all at once. Linux has built-in networking and a huge variety of software applications for every conceivable need. The command line and wide variety of drivers make working with external hardware a breeze. Linux pretty much looks and operates the same regardless of whether you are on a Linux notebook, a Raspberry Pi or a 2″x3″ CHIP computer.
Firmware-based microcontroller boards, such as the Arduino, ESP8266 and clones don’t have an operating system. Firmware controls their specialized functions that’s downloaded from a host computer. You could program your Arduino firmware from either a Windows or Linux notebook, using an application we’ll talk about in a minute. I’ve even programmed Arduino firmware from a Raspberry Pi.
Yes, I’m strongly biased toward Linux. It’s practically an industry standard, so why not use what just works?
Programming the Devices
The physical computing revolution took off, with the advent of the Arduino microcontroller boards. These devices read inputs, maybe do a few calculations and then set outputs. They do those operations at thousands of times per second. The programs they use, called firmware are just a big loop that executes over and over, very quickly.
The most common way of programming Arduinos, ESP8266s and other firmware-based clones is with the Arduino Integrated Development Environment, also known as an IDE. The IDE runs on Windows and Linux machines. You use it by entering your program code in its built-in text editor, then compile the program into binary code (firmware) and finally download it to the Arduino. After successfully transferring the firmware onto the Arduino, the board will reset and immediately start running the program. There are a ton of libraries you can use to write code for all the different types of sensors and output devices.
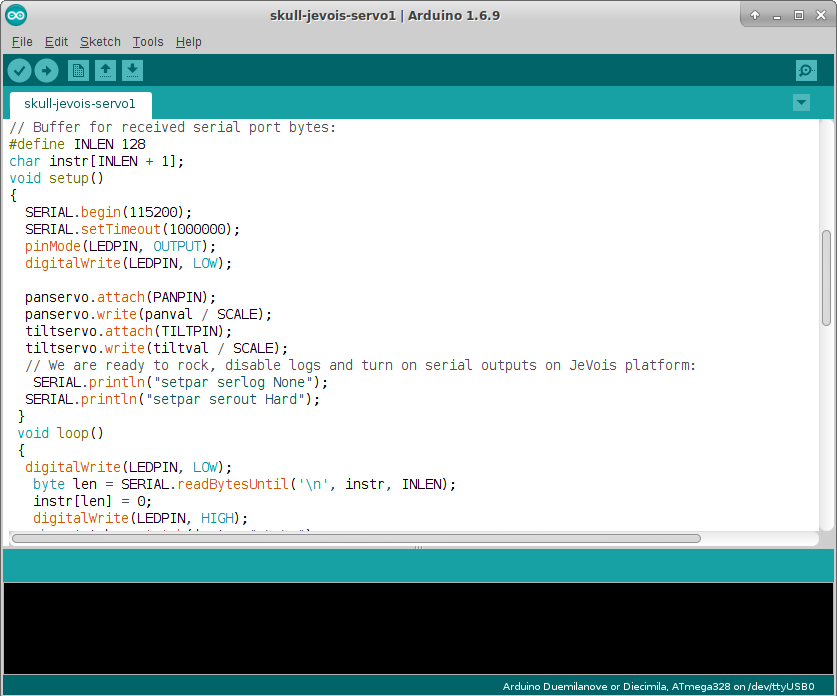
The Arduino IDE and some sample code
A common way to write programs for Linux-based boards, like the Raspberry Pi is by using the Python language. Any old Linux text editor will do for coding the program. I’m a bit of a traditionalist, so I use vi. Since the Pi has onboard HDMI, it makes sense to hook up a monitor and keyboard/mousepad to do your programming right there on the device. Python is included in the typical “Raspbian” version of Linux precisely because it’s easy to learn and a pretty capable language. I use Python programs to read button pushes and control LEDs in my Raspberry Pi projects.
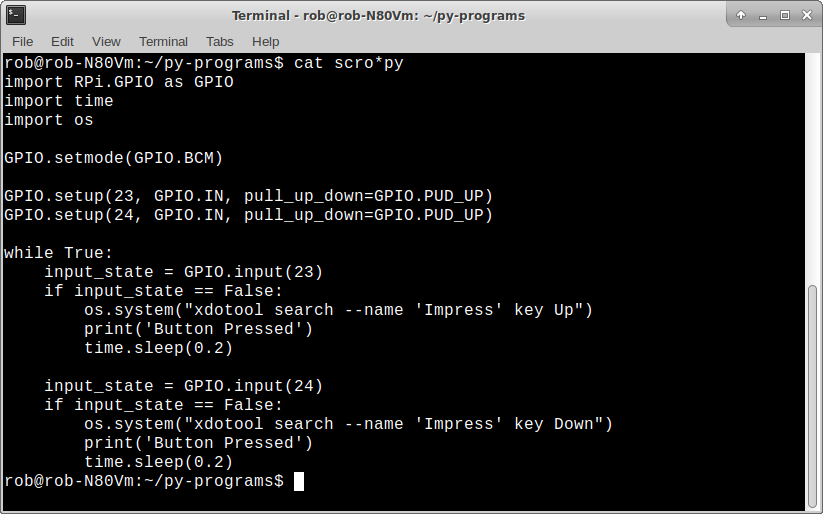
Sample Python code in a terminal window
Processing is a language much like the Arduino IDE. I use it to build graphical interfaces either on the Linux notebook or the Raspberry Pi. Many times I’ll get data from an Arduino and push it to my user interface like a steampunk gauge over a serial or USB connection. One thing I like about Processing is that it can easily access the general purpose input/output (GPIO) pins on the Raspberry Pi. While you could use Python for user interfaces, I’ve found that the libraries aren’t quite as well developed or polished as those in Processing. And, if you know the Arduino IDE and its commands, you’ll be right at home in Processing.
Other Important Tools
Two other tools I often use to help me make my physical computing projects into reality are the command line and Bash scripts. They run under Linux.
I use the screen-oriented command line quite often on all my Linux machines. Startup a terminal and the command line is right there ready to go. I’ll use it to run vi and edit text. Or, execute apt-get to install programs. A particularly useful situation is when I remotely log into the Raspberry Pi from my Linux notebook, using ssh. No need for a keyboard or monitor, to do something on the Pi. Getting comfortable with the Linux command line is a skill that will serve you very well.
Lastly, there are Bash scripts. These text files simply execute strings of command lines. For example, I can initialize a USB port with the stay command, then cd (change directory) into the Arduino-1.6.9 directory, then start up the Arduino IDE with ./arduino. They let you automate mundane tasks and save you from typing complicated commands over and over. You can even call a script right after boot up, so all your applications are up and running and ready to go automatically.
What’s Next
Today, we covered the software tools we typically use to build physical computing projects. Linux is an awesome development environment and certainly worth considering for your everyday computing jobs, as well. The other tools take a little time to learn but aren’t too hard. This mix of applications is pretty comprehensive and lets you cover just about any programming situation you’ll encounter.
If you want to hire the best Developer to work on your important projects, we have got your back. InApps gives you the opportunity to hire the top developers in Vietnam. So, what are you waiting for? Contact us now!
[sociallocker id=”2721″]
List of Keywords users find our article on Google:
| hire raspberry pi developers |
| scratch wikipedia |
| building arduino robots and devices |
| practical rust projects: building game, physical computing, and machine learning applications |
| hcmc blue building |
| id scratch |
| arduino 1.6 7 |
| xubuntu usb bootable |
| arduino keyboard |
| scratch coding |
| raspberry pi computer status monitor |
| scratch boards |
| wikipedia scratch |
| hook wikipedia |
| input devices wikipedia |
| “code for all” |
| wikipedia computer hardware |
| linux commands wikipedia |
| beaglebone ai |
| case per raspberry pi |
| hire raspberry pi developer |
| well polished jobs |
| usb host developer jobs |
| scratch team |
| arduino 1.6 5 free download |
| asus notebook wikipedia |
| raspberry pi vietnam |
| scratch app |
| interplay learning app |
| spring.io initializer |
| beaglebone wikipedia |
| how you combine ai and arduino |
| kotlin set focus on edittext |
| steampunk raspberry pi |
| kotlin 1.6 |
| steampunk gadgets |
[/sociallocker]

Let’s create the next big thing together!
Coming together is a beginning. Keeping together is progress. Working together is success.


